Construction Process
Home Construction with Aluminum Moulds
Why industrializing the construction process?
Homex acquired a mould-formwork system in 2007 to have a standardized, uniform and controlled mass production of homes.
What is the mould?
The mould is one of the most advanced construction systems in the housing industry for massive home production.
It is an integrated system that allows pouring one hundred percent of the house: interior and exterior walls, roof slabs, parapets and construction joints. It also gives Homex the capacity
to produce monolithically at least one house per day, depending on the mould design, and with a reduced group of workers.
How is the home built with aluminum moulds?
The construction system with aluminum moulds is divided in two main stages: Foundation and Mould assembly.
STAGE 1: FOUNDATION
By producing our homes with moulds, precision is a key element. Reason why the Homex construction team improved the first process to guarantee the exact leveling of the foundation slab.
The steps to build a foundation slab are:
Step 1: Trace and Leveling: Step 2: Trench digging Step 3: Hydraulic and Sewage Installations placement Step 4: Electric installations placement Step 5: Placement of Isolating Polyethylene Step 6: Placement of the steel reinforcement Step 7: Placement of the foundation formwork Step 8: Leveling of the foundation formwork Step 9:Placement of leveling rulers Step 10: Pour of the foundation slab Step 11: Removal of the foundation formwork.
At this point, the foundation slab has been finalized. This stage is the base to achieve a home free of reprocessing activities.
The precision we use on each of these previous steps, will determine the exact leveling of the full home.
STAGE 2: MOULD ASSEMBLY
The purpose of this trace is to guarantee a quick and precise alignment of the forms during the assembly of the mould.
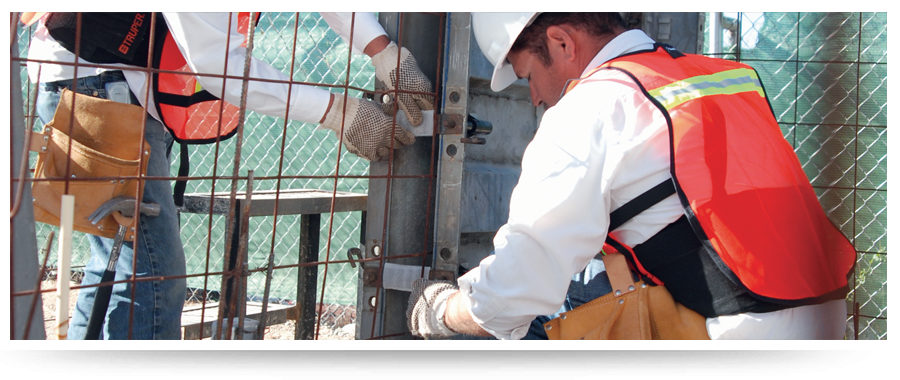
Step 2: Placement of “U” stop plate
Once the trace is finished, we place the “U” stop plates with the fixing tool. This help us give a perfect alignment to the mould and prevents the home to be off square during the mould assembly.
Step 3: Steel Walls:
A welded steel mesh is placed which is attached to the foundation rebar anchors. As well, a diagonal reinforcement on doors and window clearances, which cannot be removed, is placed which guarantees the reduction of fissures on the house.
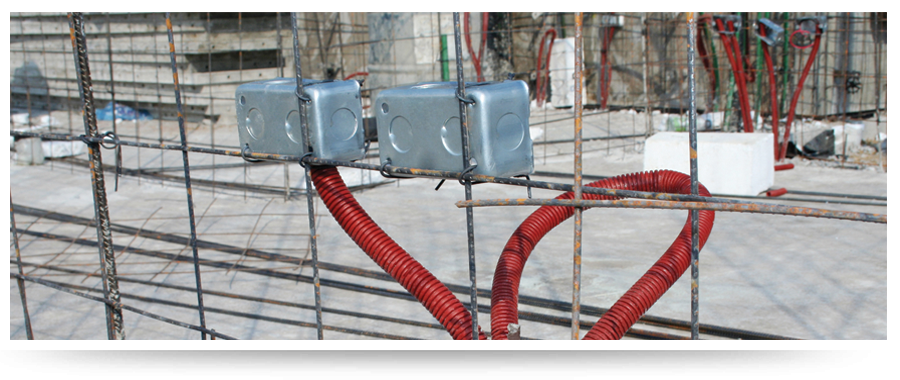
Step 4: Hydraulic, Sewage and Electric Installations
It is very important that the alignment of the installations is supervised to guarantee the perfect alignment with the wall axis.
A temporary blocking of electric, water and sewage an outlet is placed prior to the enclosing of the mould forms to avoid, during the concrete pouring, blockings the outlets.
Step 5: Placement of steel spacer disks
In the walls it is very important to center the steel with the centering disks to provide the exact placement of the reinforcing steel inside the concrete walls as well as to guarantee the perfect performance of the concrete, avoiding the contact within the mould.
Step 6: Forming the Mould
We proceed to the preparation of the sleeves for the ties. These sleeves are synthetic covers that allow us to recover the ties once the pour has been done without damaging, neither the tie, nor the concrete structure.
The ties are components that receive the total loads of the concrete pour. They establish the spacing of the forms to guarantee the wall thickness of the home.
Then the release agent is applied to the forms to protect the mould.
Once the previous activities are completed, the assembly of the forms is started, beginning from an interior corner to give stability to the setup.
Once finished the setup process the next step is the quality control process to ensure that the process has been completed without defects.
Step 7: Beams and EPS (Expanded Polystyrene) filler panel
The next step is the placement of the beams and EPS filler panels over the forms to make the slab ready to be poured monolithically
Step 8: Industrialized Metallic Shoring
A metallic shoring poles and engineered wood beams is used for the temporary shoring. The main purpose is to facilitate the assembly process.
Step 9: Steel on roof Slab
The reinforcing steel must be placed at this point on the roof, according to the project specifications. It is very important to use the proper rebar chairs to guarantee the proper placement of the steel.
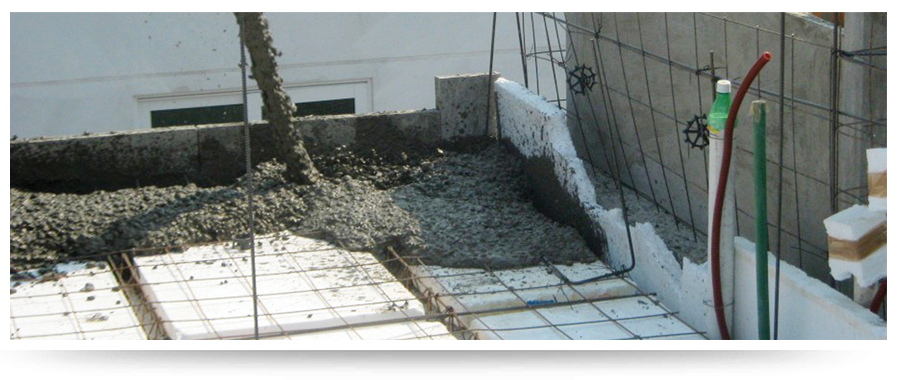
Step 10: Casting of the Mould
The placement of concrete must be first through the perimeter, which means that the concrete load must be continuously moving all around the mould to avoid the accumulation of concrete in just one zone. During the casting process, it is very important to keep checking the proper filling of the mould to guarantee the quality of the pouring.
Step 11: Mould Washing Process
During the casting process, the mould is washed. A proper care must be taken when washing the forms once the pour is finished. The water spurt must be directed to the forms
diagonally to avoid the water erodes the concrete structure.
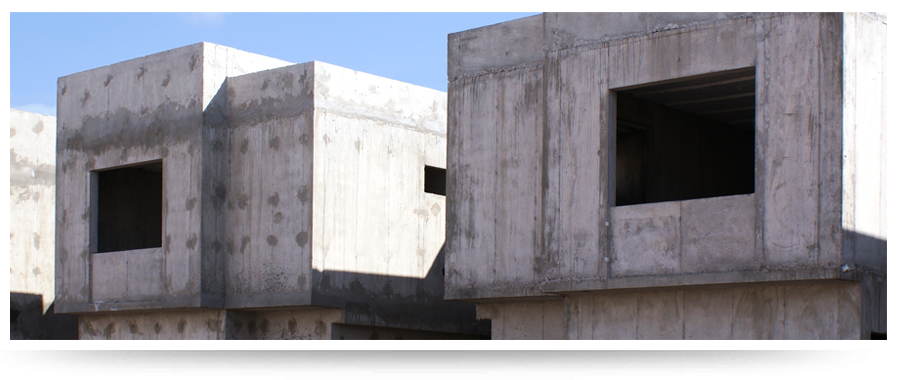
Step 12: Casting off the Mould
We must take perfect care when removing the connecting accessories; it should be done with the proper tools.
Step 13: Cleaning of the Mould
The daily process of cleaning the mould equipment is to guarantee its durability and proper use. Having clean moulds allows us to have minimum imperfections and the correct performance of the release agent. It also reduces the build-up concrete that increases significantly the weight of the equipment and consequently reduces the productivity.
At this point, we have now finalized the mould stage, obtaining one home ready to receive the selected finishes.